2018 Christmas House
Merry Christmastime!
We've decked our {outdoor} halls and done something really big and fun and different this year. My inspiration came from the incredibly talented Christine McConnell, who recently became famous for her new Netflix show, The Curious Creations of Christine McConnell. The show isn't for everyone, but if you're a fan of both Martha Stewart and Tim Burton--as I am--then you might like her too.
I was charmed by her new show, which features vintage Pyrex, amazing craft and baking tutorials, 1950s style dresses, puppets, macabre jokes, and an adorable set. I wanted to know more about her, and after a quick Google I found she started to gain fame when she did her parents' house up for Halloween a few years ago. Then I saw she also did her parents' house for Christmas--
>>CLICK HERE<<--and take a look! It's amazing.
I was so charmed and inspired by her holiday house.
I had to try it myself.
I was so charmed and inspired by her holiday house.
I had to try it myself.
I was so excited to do something different than your classic string lights or inflatable outdoor Christmas decor.
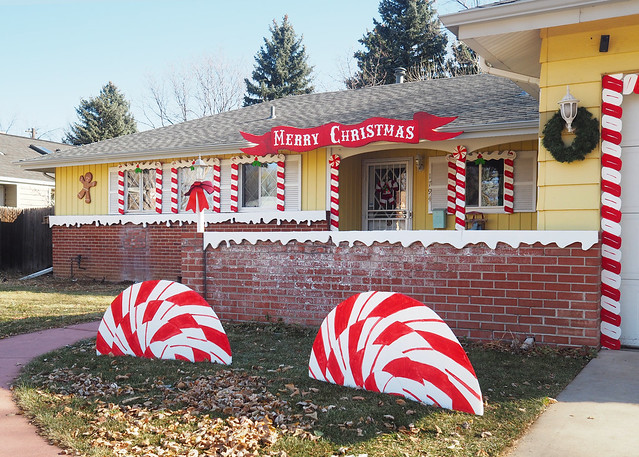
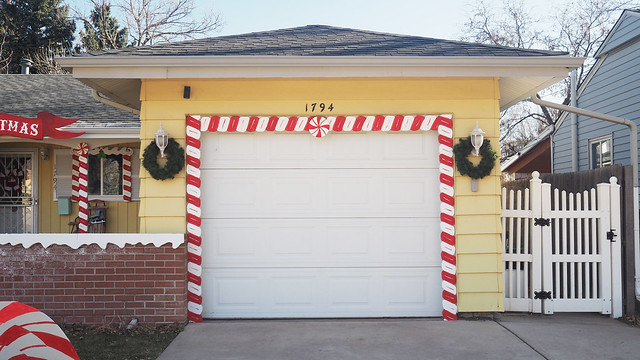
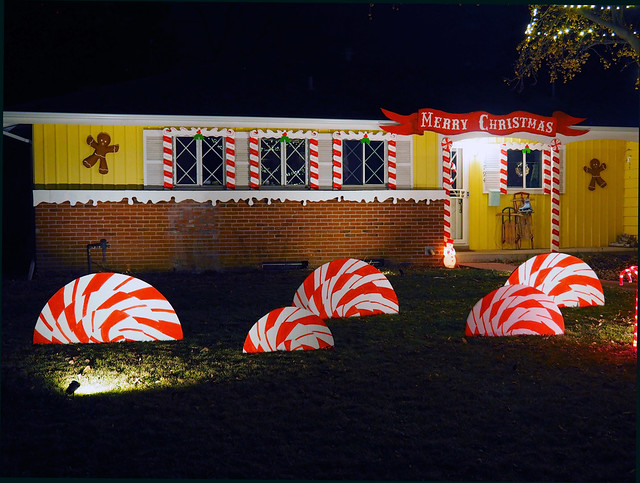
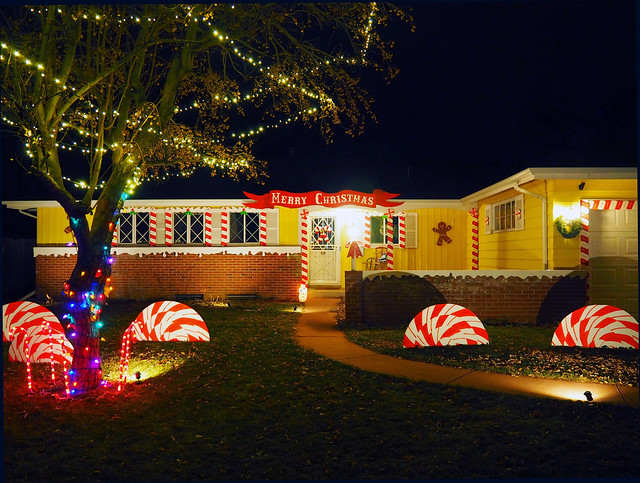
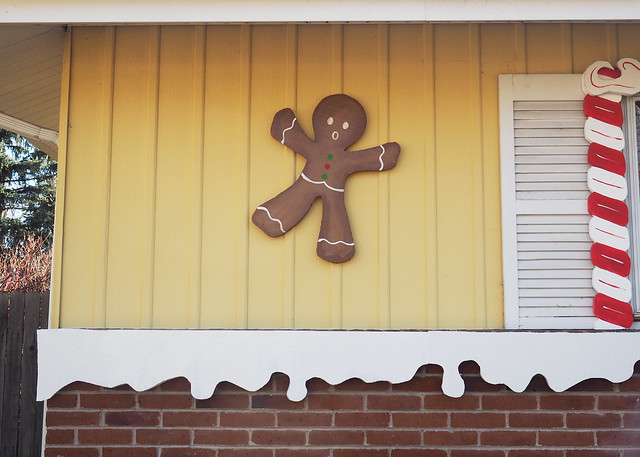
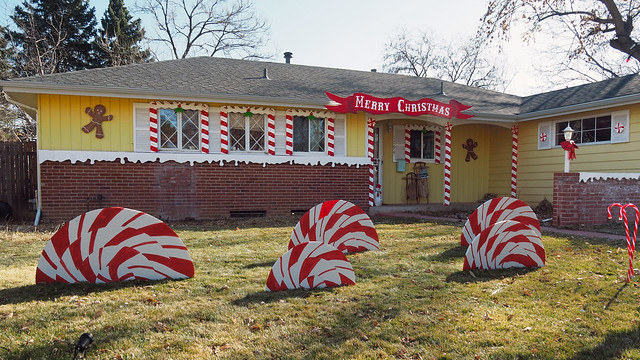
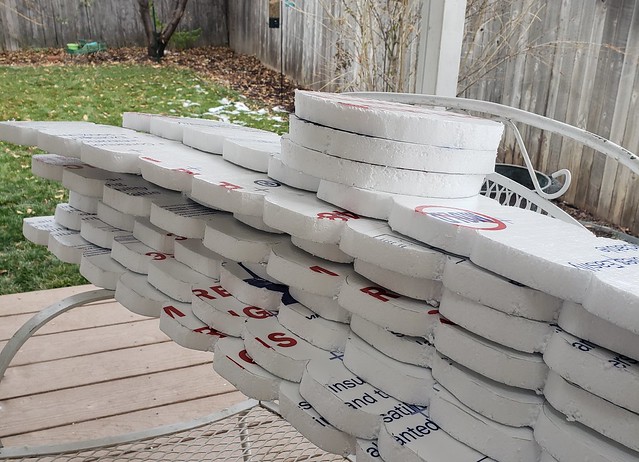
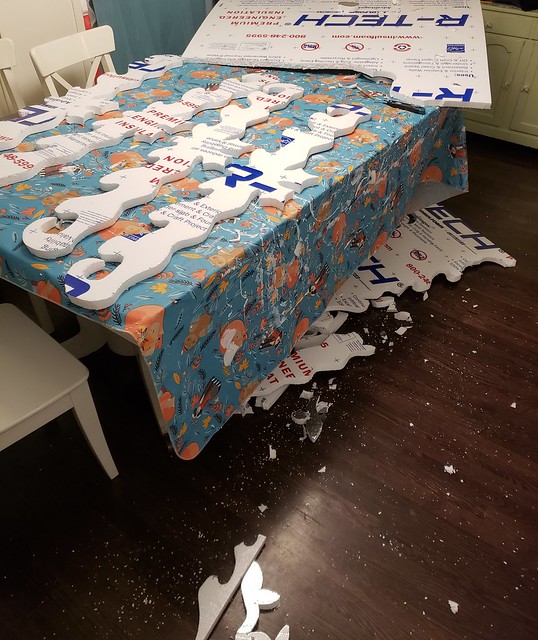
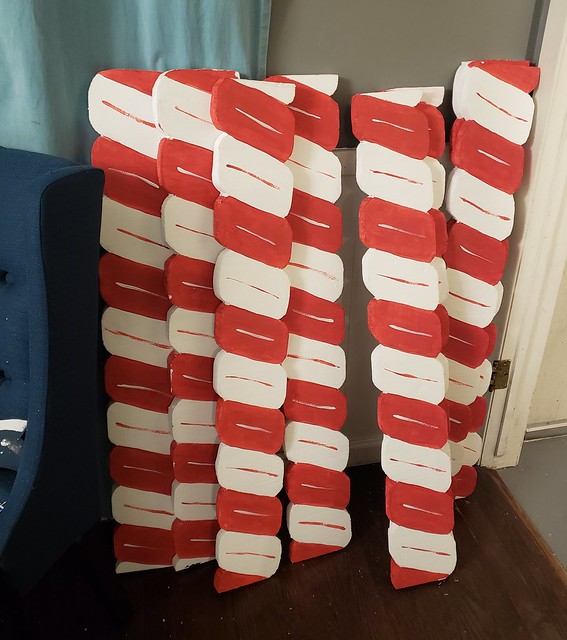
So, I've spent the last two weeks carving and painting 46 foam insulation pieces.
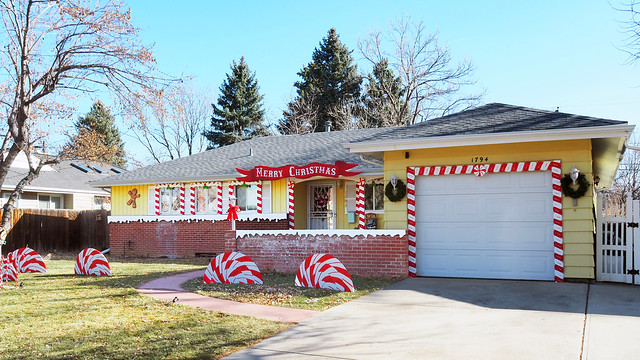
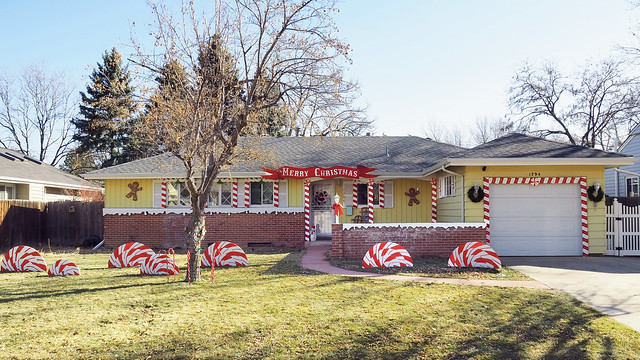
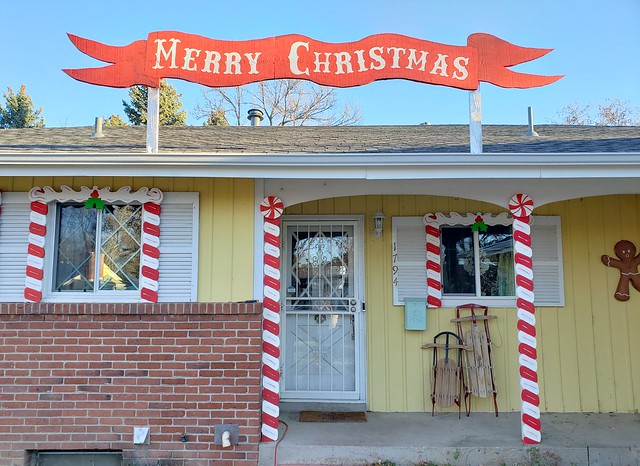
And while I would have added another 46 pieces of decor if I could, one has to stop somewhere, and I'm pretty happy with the way my little yellow gingerbread cottage turned out.
I never want to see a paintbrush again. But I did it.
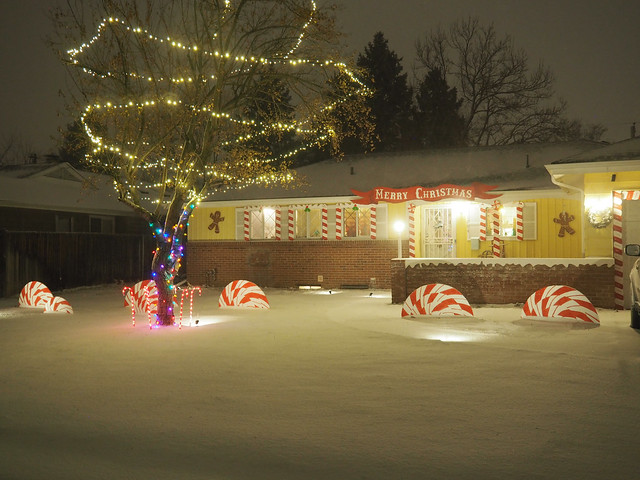
With the help of my husband--who grew more supportive of this project as it became clear he would be involved in wiring and installation projects--we have it spotlit at night. But what is nice about this sort of decorating, is that it is just as visible during the day. Christmas light displays can't do that.
I did fret that some neighbors might think it was tacky {which is silly because all Christmas decor is inherently tacky, if we're being honest} but so far I've heard only compliments and talk of "Santa's village" and such.
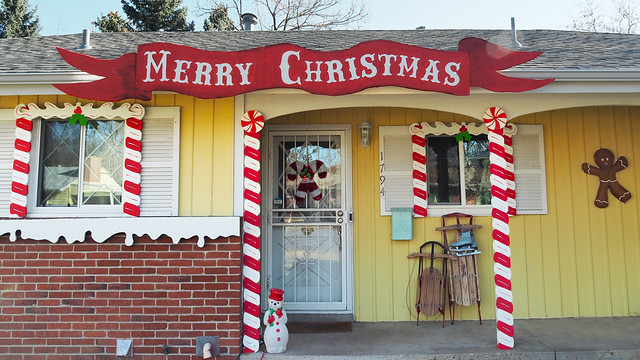
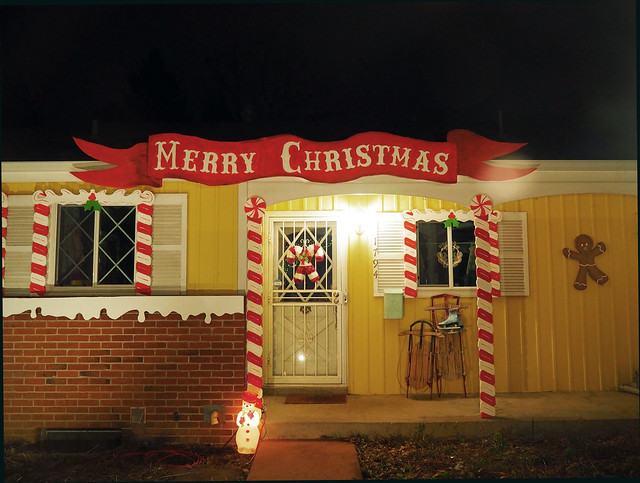
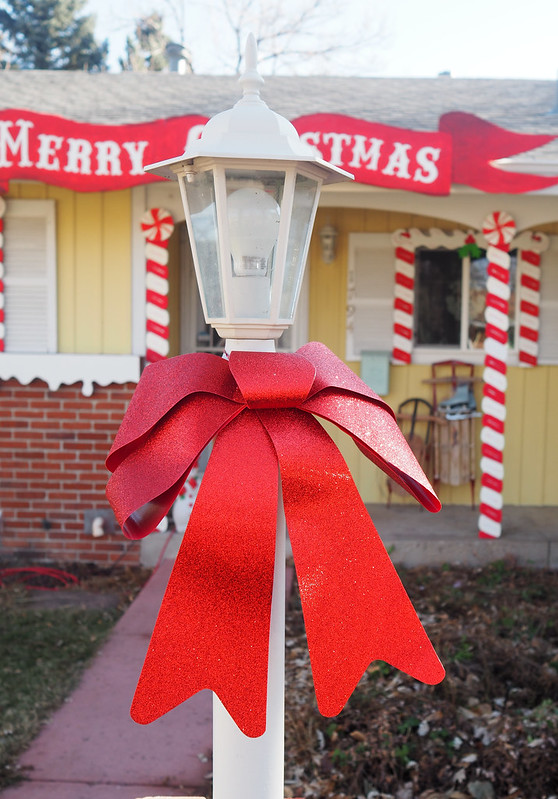
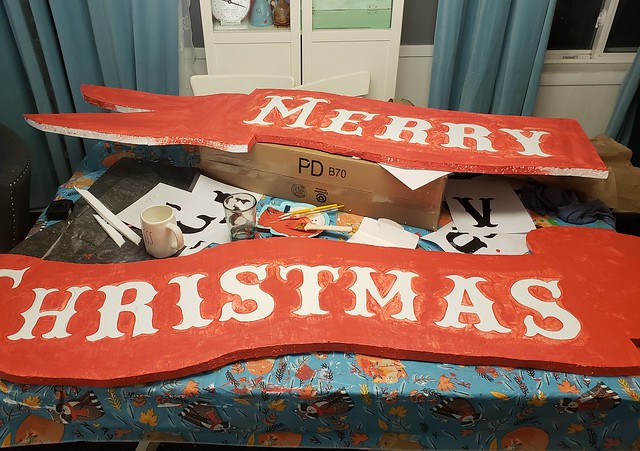
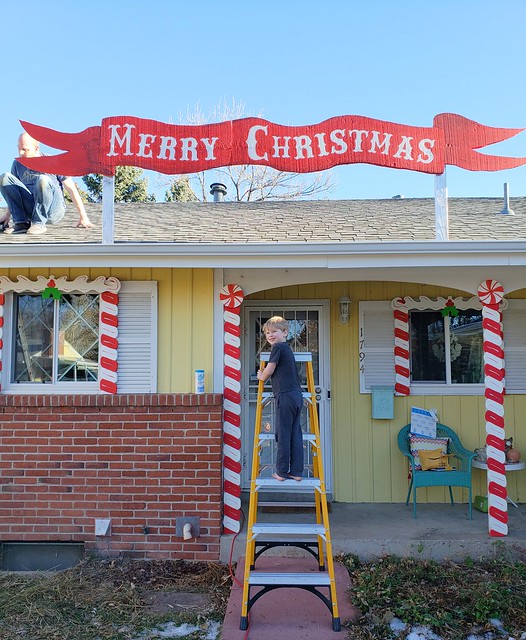
The Merry Christmas sign has been the biggest challenge. It is 14 feet long and I cut and painted it by hand. My husband originally installed it elevated above the roof, but a winter storm came through and it was obvious we needed to lower its profile. It's been great since then.
While I'd like this all to be an investment I can put up year after year, the truth is we don't know how it will hold up. So far, so good!
Maybe I'll even be able to add more pieces each year?
Keep reading to see how we constructed all this and got it up...
But first, a snowy shot. {This was taken before I put some final touches on.}
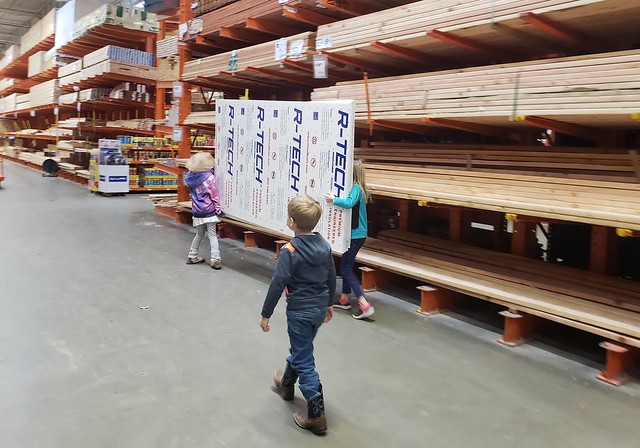
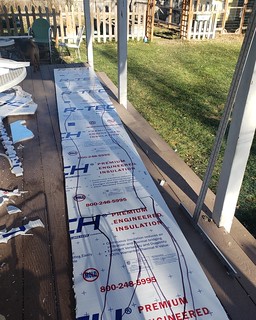
So, I took all the info I could get from Christine's Instagram posts. She used this type of foam insulation. It runs about $12 a sheet at Home Depot. We used six sheets total.
Also at Home Depot, I purchased a two-pack of snap-off razor knives in the tools aisle. The two pack was only about $1.97. I recommend the narrow razor knife for cutting curves easily.
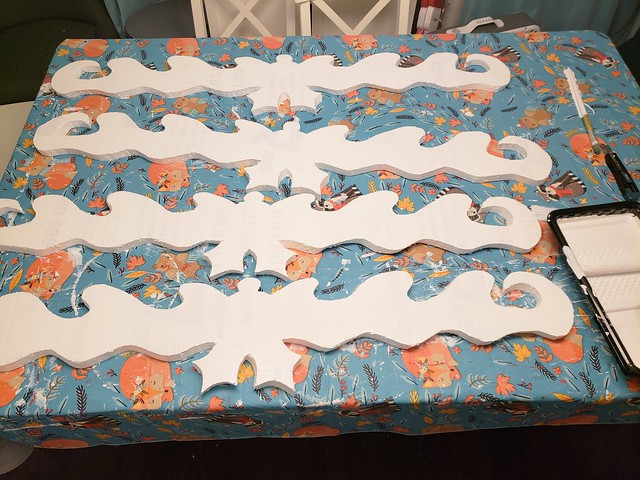
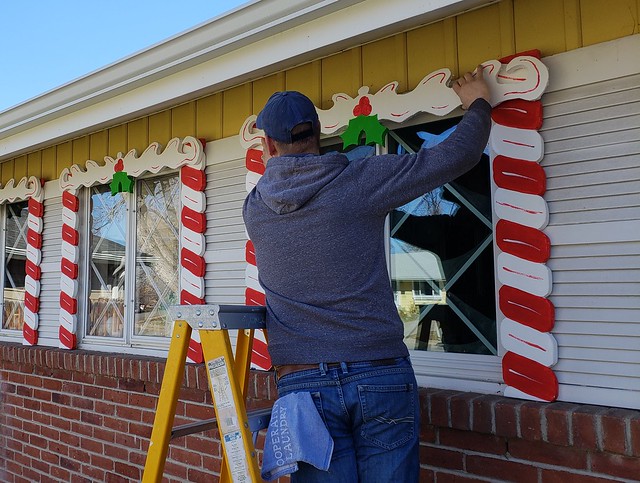
It helped to make cardboard templates. These frosting pieces for the windows I copied from Christine's design; I love the scrolls and scallops.
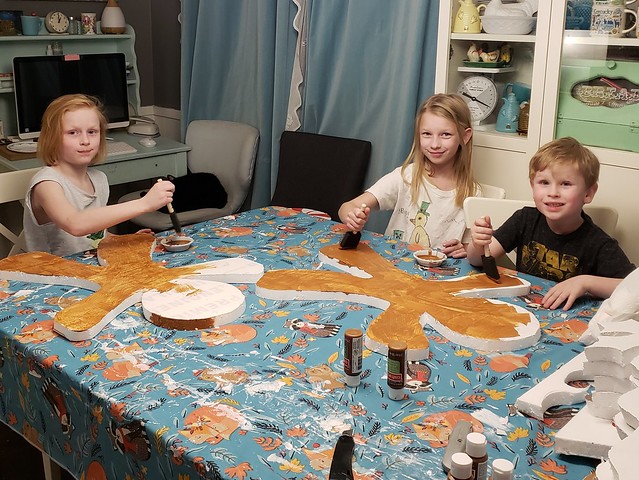
{Free child labor}
I started out with acrylic paint from a craft store {bad idea} which hasn't held up as well and chips in the cold. Early on, I found that a gallon of outdoor white primer paint from Home Depot and a roller brush was faster and better.
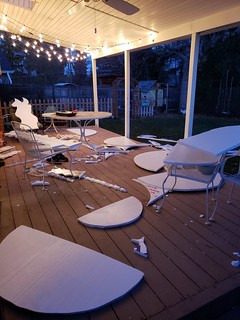
I worked outside when I could, but it's been so cold here on and off, so unfortunately my house got pretty messy from working a lot inside.
The most intimidating part for me was the 14-foot Merry Christmas sign!
I found it helpful to print big letters off and used a graphite transfer paper to trace them onto the foam. The letters aren't perfect--in fact a lot of the details are iffy. But the beauty of this is that most people see it from a distance, from the street. It looks good from there!
The biggest question, and I've seen a lot of people begging for hints from Christine on her Instagram page asking this same thing--though she is a celebrity so I understand how she can't answer everyone--was HOW in the world to attach it to the house securely?
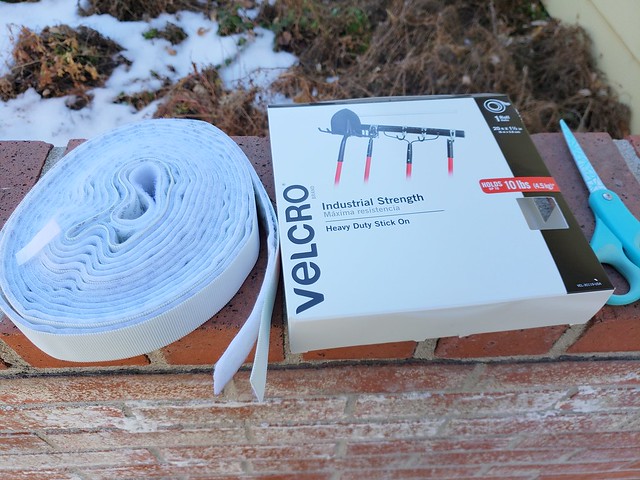
We brainstormed this for days and had all kinds of ideas but that all seemed problematic in one way or another. Then Sander finally went to Home Depot just to browse and came home with this: Industrial Strength Velcro that just sticks on. Holds up to 10 lbs., package says.
It's worked wonderfully. We cut small pieces of Velcro and each foam decoration has only required two or three small pieces of Velcro. Since it is cold here, we found it helpful to heat up the adhesive with a hair dryer as we were applying.
This is how we originally had the sign before we had to lower it. Oh well, all's well that ends well, yes?
Merry Christmastime and thanks for visiting! I hope you leave inspired. I have been inspired by Christine McConnell to continue to try bigger and more challenging projects. I'm already looking forward to what's next!
Cheers,
Heather



0 comments
What do you have to say for yourself?